You’ve just scheduled your All-on-X surgery and now you’re wondering what recovery actually looks like. Your surgeon mentioned temporary teeth and soft foods, but you want specifics – what will day three feel like, when can you return to work, how do you manage pain without overusing medication. I know this uncertainty because Central Texas patients tell me the anticipation of recovery creates more anxiety than the procedure itself.
Here’s what All-on-X aftercare actually involves. Recovery follows predictable phases from immediate post-surgical healing through complete bone integration over three to six months. Most discomfort concentrates in the first week, dietary restrictions ease gradually as healing progresses, and daily care routines become second nature once you understand what your temporary teeth need. The key is knowing what’s normal, what requires attention, and how to support healing at each stage.
This guide walks through every phase of All-on-X recovery with specific timelines, clear instructions, and honest expectations about pain, swelling, diet, and activity. You’ll know exactly what to expect day by day, which symptoms warrant concern, and how our Austin-area team supports you from surgery through final restoration. By the end, you’ll feel prepared rather than anxious about your recovery journey.
What Happens Right After All-on-X Surgery
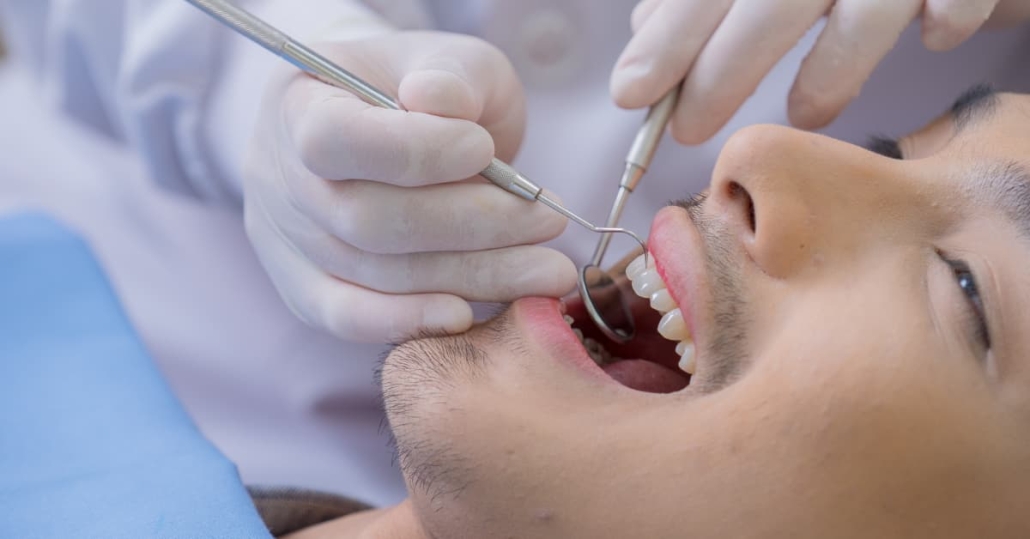
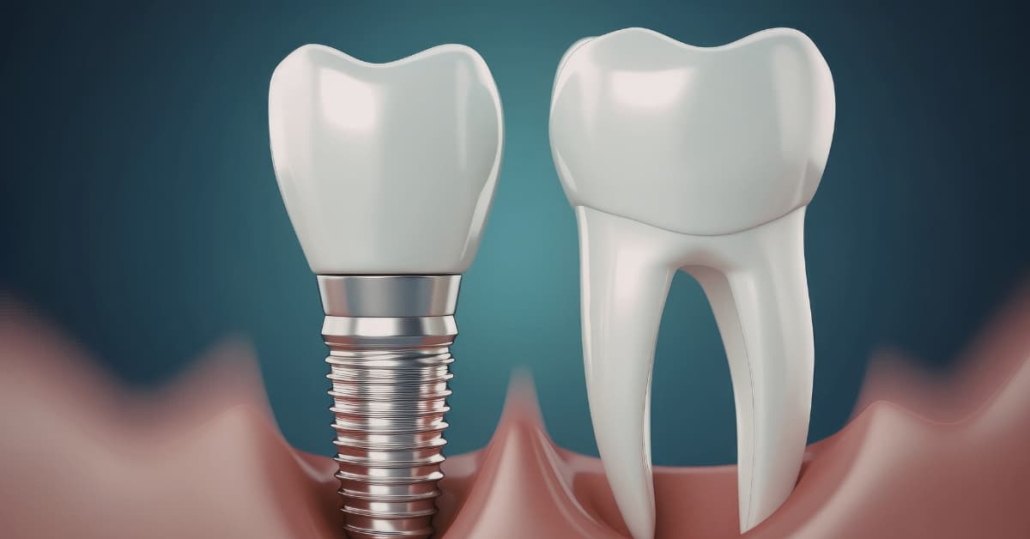
You leave our surgery center with temporary teeth already attached to your new implants. These temporaries look like real teeth and stay in your mouth permanently – you don’t remove them for cleaning or sleeping. They’re designed for appearance and light function during healing, not full chewing force. Understanding this distinction prevents damage to your restoration and protects your implants during the critical integration period.
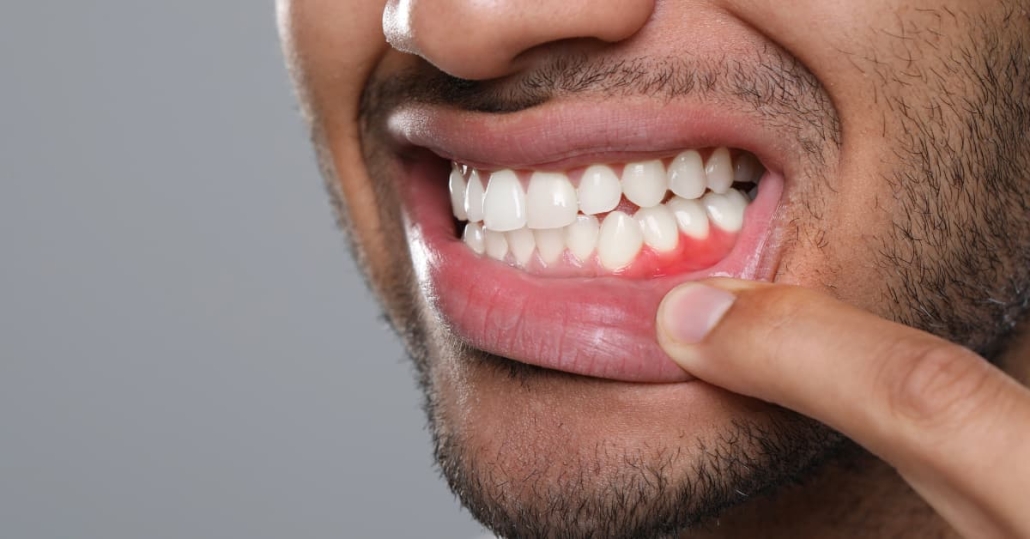
Numbness from local anesthesia lasts four to six hours after surgery. Your face will feel swollen and tight, though you may not see visible swelling until the next morning when inflammation peaks. You’ll have gauze in place over surgical sites that we’ll instruct you to change as needed. Some oozing of blood-tinged saliva is normal for the first 24 hours – frank bleeding where blood flows continuously requires immediate contact with our office.
Pain medication starts working before the anesthesia fully wears off. We typically prescribe a combination of prescription pain relievers for the first three days when discomfort peaks, transitioning to over-the-counter options as discomfort decreases. Taking medication on schedule – rather than waiting until pain becomes severe – provides better control and more comfortable recovery.
Your ride home should be quiet and calm. Have someone drive you because the combination of surgery and medication affects coordination and judgment. Plan to rest the remainder of the day with your head elevated using two to three pillows. Ice packs applied 20 minutes on and 20 minutes off reduce swelling and provide comfort. Avoid bending over, heavy lifting, or any activity that increases blood pressure and could trigger bleeding.
Eating the first evening means liquids only – protein shakes, broth, smoothies, or anything you can consume without chewing. Your temporary teeth need protection while soft tissue heals around implant sites. Sipping through a straw is fine despite old wisdom about avoiding suction – modern All-on-X procedures don’t involve individual tooth extraction sites where clots could dislodge. Stay hydrated because medication and reduced eating can lead to dehydration headaches that compound discomfort.
Sleep may be challenging the first night due to swelling, an unfamiliar sensation in your mouth, and medication effects. This is temporary. Most patients sleep better by night two once they adjust to having new teeth and initial swelling begins decreasing.
Your Day-by-Day All-on-X Recovery Timeline
All-on-X recovery follows a predictable pattern, though individual experiences vary based on whether you treated one arch or both, your pain tolerance, and how well you follow post-operative instructions. This timeline reflects what Central Texas patients typically experience when healing progresses normally.
- Surgery Day (Day 0) – You have temporary teeth in place, numbness lasting several hours, minimal pain while anesthesia remains active, and instructions to rest with ice packs and elevation. Stick to liquids only. Take prescribed medications on schedule. Expect to feel tired from the procedure and medication. This is when family support helps most – you need someone monitoring you and helping with basic tasks.
- Day 1 – Swelling peaks and you’ll look more swollen than you feel. Your face may appear puffy, bruising could start showing along your jawline, and stiffness makes opening your mouth challenging. Pain increases as anesthesia fully wears off but remains manageable with prescribed medication. Continue ice packs in 20-minute cycles. Stay on liquids – protein shakes, blended soups, yogurt drinks. This is typically your most uncomfortable day.
- Day 2 – Swelling remains at peak or begins very gradually decreasing. You may notice more bruising as blood settles in facial tissues – this looks alarming but indicates normal healing. Pain should be slightly less than day one if you’re staying ahead of it with medication. You can start very soft foods like scrambled eggs, mashed potatoes, or applesauce. Avoid anything requiring chewing. Many patients feel discouraged this day because they don’t see improvement yet – improvement comes tomorrow.
- Day 3 – Swelling noticeably decreases for most patients. Opening your mouth becomes easier. Pain continues improving and some patients begin reducing prescription medication, switching to over-the-counter options. Your energy returns and you feel more like yourself. Continue soft foods but you can expand variety – cottage cheese, pudding, pasta cooked very soft, smoothies. This is the turning point where recovery feels achievable rather than overwhelming.
- Days 4-7 – Swelling decreases daily. Bruising fades from dark purple to yellow-green as it resolves. Pain becomes mild and manageable with ibuprofen or acetaminophen alone for most patients. You can expand your diet to include more substantial soft foods – ground meat in gravy, soft fish, well-cooked vegetables, oatmeal, pancakes. Avoid crunchy, hard, or chewy foods that stress temporary teeth. Many patients return to work during this period if their job doesn’t involve physical labor.
- Week 2 – External swelling resolves almost completely, though internal tissue healing continues. Your face looks normal again. Discomfort is minimal or absent. You’re eating a varied soft diet and adjusting to speaking with new teeth. This week we typically see you for follow-up to check healing, adjust temporary teeth if needed, and answer questions about progressing to the next phase. You feel confident managing daily activities and life returns toward normal routines.
- Weeks 3-8 – Soft tissue healing completes. Internal bone integration with implants progresses but hasn’t finished. You continue eating soft foods and avoiding hard items that could stress implants before osseointegration completes. Your temporary teeth feel more natural and you’ve adapted to cleaning routines. Life feels mostly normal with dietary modifications. This is the patient plateau where healing happens internally without visible external changes.
- Months 3-6 – Bone integration reaches completion. We confirm osseointegration through clinical examination and possibly imaging. Once confirmed, we take impressions for your final prosthetic. Final restoration fabrication takes two to three weeks, then you return for permanent teeth placement. After final teeth are placed, diet restrictions lift and you can eat anything including steak, apples, corn on the cob – foods that were impossible with dentures or failing teeth.
This timeline assumes normal healing. Smokers heal slower. Diabetics may experience extended inflammation. Patients who don’t follow instructions about diet restrictions or activity limitations risk complications that extend recovery. Most Central Texas patients progress through these phases without problems when they take aftercare seriously.
Managing Pain and Discomfort After All-on-X
All-on-X surgery creates pain similar to having multiple teeth extracted – manageable with proper medication but uncomfortable if you wait too long between doses. Most patients describe the sensation as pressure, soreness, and aching rather than sharp pain. The discomfort concentrates in your jaw and face, sometimes radiating to your temples or neck as surrounding muscles react to surgical trauma.
We prescribe pain medication tailored to your procedure complexity and pain tolerance. Typical protocols include a prescription opioid for the first two to three days when discomfort peaks, transitioning to non-steroidal anti-inflammatory drugs like ibuprofen once acute pain subsides. Some patients need prescription medication for five to seven days, while others transition to over-the-counter options by day three. Listen to your body but don’t try to be heroic about pain – staying comfortable supports healing by reducing stress hormones that can slow recovery.
Here’s how to manage pain effectively through each recovery phase:
- Take Medication Proactively – Set alarms for your medication schedule during the first three days. Taking pills before pain becomes severe provides better control than trying to catch up after discomfort peaks. This means taking your next dose when you feel comfortable, not waiting until pain returns.
- Combine Medications Strategically – When appropriate, alternating ibuprofen and acetaminophen provides better pain relief than either alone. Take ibuprofen at 8am, acetaminophen at 11am, ibuprofen at 2pm, acetaminophen at 5pm. This maintains consistent pain control without exceeding safe doses of either medication.
- Use Ice for Inflammation – Ice packs reduce swelling which directly decreases pain. Apply for 20 minutes every hour while awake for the first 48 hours. After 48 hours, switch to warm compresses if you prefer – heat improves circulation and can feel soothing, though it won’t reduce swelling like ice does.
- Sleep Elevated – Keeping your head above your heart reduces blood flow to surgical sites, minimizing swelling and throbbing pain. Use two to three pillows or sleep in a recliner for the first three to four nights. Many patients report less nighttime pain when they maintain elevation.
- Avoid NSAIDs Before Surgery – Stop taking ibuprofen, aspirin, or other blood thinners one week before surgery if medically appropriate. These medications increase bleeding during and after the procedure, which can increase pain and extend healing time.
- Watch for Medication Side Effects – Opioid pain medications cause constipation, nausea, and drowsiness. Take stool softeners preventively if prescribed opioids. Eat small amounts with medication to prevent nausea. Don’t drive or operate machinery while taking prescription pain relievers.
Normal pain follows a downward trend – worst on days one and two, improving daily after that. If pain increases after day three, doesn’t respond to prescribed medication, or feels different from the surgical soreness you’ve been experiencing, contact our office. Worsening pain can signal infection or implant complications that need evaluation.
Some discomfort during the three-to-six month integration period is normal when you accidentally bite something too hard or bump your temporary teeth. Sharp, persistent pain at implant sites isn’t normal and warrants examination. Most patients experience no pain at all once the first two weeks pass – just an awareness of having new teeth while they adjust to the restoration.
All-on-X Diet – What to Eat Week by Week
Your All-on-X diet progresses through phases matching tissue healing and bone integration. Early restrictions protect surgical sites and temporary teeth during vulnerable healing periods. Gradual expansion lets you test what your restoration can handle as strength increases. Final freedom to eat anything comes only after permanent teeth are placed and confirmed to be functioning properly.
Here’s the complete dietary progression Central Texas patients follow:
- Days 0-3 (Liquids and Very Soft) – Protein shakes, bone broth, blended soups, smoothies, yogurt, pudding, applesauce, mashed potatoes with gravy, scrambled eggs cooked very soft. Nothing that requires chewing. Room temperature or cool foods only – avoid anything hot that could increase bleeding or irritate tissues. Stay hydrated with water, electrolyte drinks, or diluted juice. This phase feels restrictive but lasts only a few days.
- Days 4-14 (Soft Foods) – Continue previous foods plus cottage cheese, ricotta, soft pasta, well-cooked oatmeal, pancakes, soft bread with spreads, ground meat in sauce, flaky fish, steamed vegetables mashed with a fork, ripe bananas, canned fruit. Cut everything into small pieces. Let food temperature cool to lukewarm. Chew gently using back teeth, avoiding your front temporary teeth which handle less force. Most patients find this variety satisfying after the first three days of liquids.
- Weeks 3-8 (Expanded Soft) – Add eggs cooked any style, soft chicken or turkey without crispy skin, tender pot roast, pasta with chunky sauce, cooked rice, soft sandwiches with filling cut small, cheese, lunch meat, soft fruits like melon or berries, cooked carrots or green beans. Still avoid hard, crunchy, or chewy foods. No raw vegetables, chips, nuts, hard bread crusts, tough meat, or sticky foods like caramel. This phase offers enough variety that most patients don’t feel deprived.
- Months 3-6 (Careful Soft) – Continue the expanded soft diet while bone integration completes. You may be tempted to test harder foods – don’t. Temporary teeth aren’t designed for full force and implants haven’t finished integrating. Biting into an apple or eating popcorn can damage your restoration or stress implants before they’re ready. Patience during this plateau period protects your investment and prevents complications.
- After Final Teeth (No Restrictions) – Once your permanent prosthetic is placed and we confirm it’s functioning properly, you can eat anything. Steak, apples, corn on the cob, nuts, raw vegetables, crusty bread – foods that were impossible with dentures or failing teeth become normal again. Your permanent restoration is designed for full chewing force and can handle the demands of regular eating.
Nutrition matters during healing. Your body needs protein to repair tissue and calcium to integrate implants with bone. If you struggle to eat enough solid food during early recovery, supplement with protein shakes, Greek yogurt, or nutritional drinks. Dehydration slows healing and increases pain – drink at least 64 ounces of water daily even when eating feels difficult.
Common dietary mistakes include testing temporary teeth with foods they’re not ready for, assuming you can eat harder items because you feel good, or getting frustrated with restrictions and skipping meals entirely. Your temporary teeth serve an important function during healing but they’re not your final restoration. Protect them by following dietary guidelines even when you feel capable of eating more.
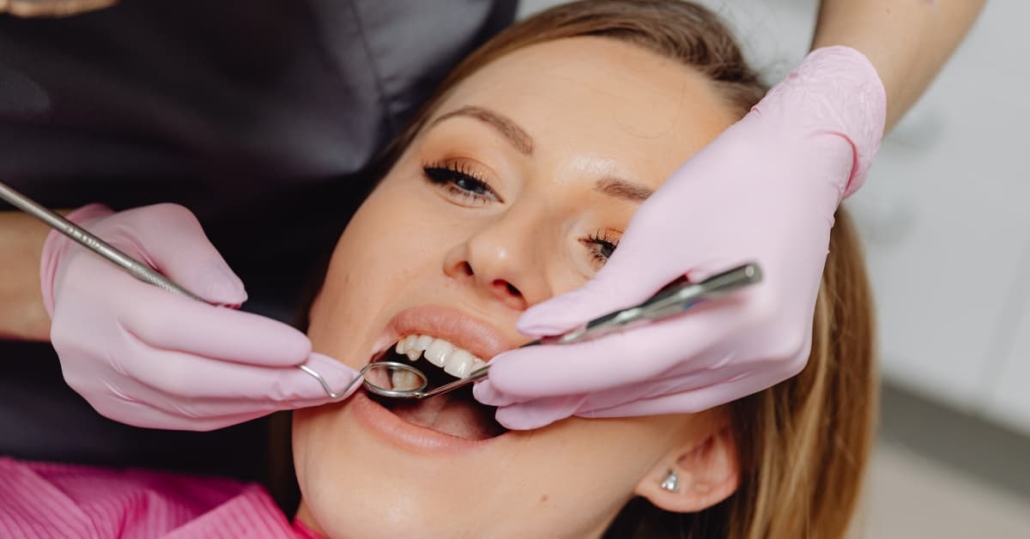
How to Clean Your All-on-X Temporary Teeth
Your All-on-X temporary teeth need daily cleaning to prevent infection, control inflammation, and support healthy healing around implant sites. The restoration stays in your mouth permanently during the healing period – you clean around it, not remove it. Proper hygiene protects your investment and prevents complications that could compromise implant integration.
Follow this cleaning routine starting 24 hours after surgery:
- Gentle Brushing Twice Daily – Use a soft-bristled toothbrush with gentle pressure. Brush all tooth surfaces and along the gumline where the prosthetic meets your tissue. Don’t scrub aggressively – you’re cleaning plaque and food debris, not scouring. Electric toothbrushes work well if used on the sensitive setting. Brush for two minutes morning and night.
- Water Flossing Starting Week 2 – Use a water flosser on low pressure to clean under your prosthetic and around implant sites. Direct the stream between teeth and along the gumline. This removes food particles that brushing misses. Start gently during week two when initial healing allows it, increasing pressure as comfort permits.
- Antimicrobial Rinse – We typically prescribe chlorhexidine rinse for the first two weeks to reduce bacterial load and prevent infection. Swish for 30 seconds twice daily after brushing. After the prescription ends, continue with alcohol-free antiseptic mouthwash or warm salt water rinses. Avoid alcohol-based rinses that dry tissues and can delay healing.
- Salt Water Rinses – Mix one teaspoon salt in eight ounces warm water. Gently swish four to five times daily, especially after meals. Salt water cleanses surgical sites, reduces inflammation, and promotes healing. This simple routine makes a significant difference in comfort and healing speed.
- Clean After Every Meal – Food collects under and around your temporary teeth. Rinse with water or salt water after eating to remove particles. If you’re away from home, swishing vigorously with plain water helps until you can brush properly. Letting food sit against healing tissues increases infection risk.
- Avoid These Cleaning Methods – Don’t use toothpicks around implant sites – they can damage healing tissue. Avoid abrasive toothpastes that scratch prosthetic materials. Don’t try to floss with traditional string floss under your prosthetic – you could dislodge or damage it. Stick to water flossing and prescribed cleaning methods.
Professional cleaning happens at scheduled follow-up visits. We remove accumulated plaque or debris you can’t reach, check healing progress, and identify any concerns early. These cleanings are crucial during the healing period – don’t skip appointments because your temporary teeth feel fine. Problems often develop without symptoms until they’re advanced.
Some patients worry that vigorous cleaning will damage healing tissues or disturb implants. The opposite is true – inadequate cleaning causes problems. Your temporary teeth are securely attached and normal cleaning won’t harm them. Implants are stable in bone and brushing won’t move them. Clean thoroughly but gently, following our specific instructions for your restoration type.
Warning Signs That Need Immediate Attention
Most All-on-X patients heal without complications when they follow aftercare instructions. But knowing which symptoms require immediate attention versus what’s normal helps you respond appropriately rather than worrying unnecessarily or ignoring genuine problems. Contact our Austin-area office immediately if you experience any of these warning signs:
- Increasing Pain After Day 3 – Pain should decrease daily after surgery. If discomfort worsens after the third day, doesn’t respond to prescribed medication, or becomes sharp and localized at implant sites, this can indicate infection or implant complications. Call our office rather than waiting for your scheduled follow-up.
- Fever Above 101°F – Low-grade fever under 100°F is normal for the first 24-48 hours as your body responds to surgery. Fever above 101°F, fever that develops after the second day, or fever accompanied by chills suggests infection. This requires evaluation and possibly antibiotic adjustment.
- Excessive Bleeding Beyond 24 Hours – Blood-tinged saliva for the first day is normal. Frank bleeding where blood flows continuously, bleeding that doesn’t slow with pressure and elevation, or sudden heavy bleeding days after surgery needs immediate attention. This could indicate a damaged blood vessel or other surgical complication.
- Severe Swelling That Worsens After Day 2 – Swelling peaks on days one and two, then gradually improves. Swelling that continues increasing after day two, spreads down your neck, makes breathing or swallowing difficult, or appears asymmetric on one side requires urgent evaluation. This pattern suggests infection or fluid accumulation.
- Pus or Foul Discharge – Clear or slightly blood-tinged drainage is normal. Thick, yellow, or green discharge with foul odor indicates infection at surgical sites. This needs prompt treatment with antibiotics before infection spreads or compromises implant integration.
- Loose Temporary Teeth – Your temporary prosthetic should feel stable and secure. If teeth feel loose, rock when you touch them with your tongue, or move when you speak, something has failed – either the temporary attachment or possibly an implant. Don’t wait to report this. Loose temporaries can damage healing tissues and stress other implants.
- Persistent Numbness Beyond Expected Duration – Numbness from anesthesia resolves within four to six hours. Lingering numbness in your lip, chin, or tongue beyond 12 hours can indicate nerve involvement during surgery. Most nerve sensations return over weeks to months, but documenting the issue early helps track recovery and guides management.
- Difficulty Breathing or Swallowing – Severe swelling that affects your airway or makes swallowing difficult is a medical emergency. Go to the emergency room immediately rather than calling our office. This is rare but requires urgent intervention.
- Allergic Reactions to Medications – Rash, hives, facial swelling, difficulty breathing, or rapid heartbeat after taking prescribed medications indicates allergic reaction. Stop the medication and contact us immediately. Severe reactions require emergency care.
Normal healing discomforts that don’t require emergency contact include general soreness that improves daily, mild swelling that peaks by day two then decreases, slight bruising along your jawline, sensitivity in teeth or gums near surgical sites, tiredness or low energy for the first week, and minor bleeding controlled by gentle pressure. These are expected parts of recovery.
When in doubt, call. Our Austin, Round Rock, and Temple offices have protocols for handling after-hours concerns. We’d rather evaluate something minor than have you wait with a developing complication. Don’t worry about bothering us – supporting your recovery is part of your treatment, not an inconvenience.
Activity Restrictions During All-on-X Recovery
Activity restrictions protect healing tissues, prevent bleeding complications, and avoid stressing implants before bone integration completes. These limitations feel frustrating when you’re eager to return to normal life, but following them reduces complication risk and may support better long-term outcomes.
Here’s what to avoid during recovery:
- Heavy Lifting and Strenuous Exercise – Avoid lifting anything over 10-15 pounds for four weeks minimum. No gym workouts, running, heavy yard work, or intense physical activity that increases blood pressure and heart rate. Elevated blood pressure can trigger bleeding at surgical sites and disrupt early healing. Light walking is fine and actually beneficial for circulation, but save intense cardio for week five or later.
- Bending Over – Activities that put your head below your heart – bending to tie shoes, picking up items from the floor, doing laundry from a front-loading machine – increase blood flow to your head and can trigger bleeding or worsen swelling. Squat with your back straight instead of bending at the waist, or have someone help with low tasks during the first week.
- Contact Sports and High-Risk Activities – Avoid any activity where you could receive facial impact – basketball, soccer, martial arts, roughhousing with kids. Even a minor bump to your jaw could damage temporary teeth or stress healing implants. Wait at least eight weeks before returning to contact activities, and consider using a protective mouthguard once cleared.
- Swimming and Hot Tubs – Avoid submerging your head in water for two weeks. Pools, hot tubs, lakes, and oceans harbor bacteria that can infect healing surgical sites. Showers are fine – just don’t let hot water spray directly on your face with high pressure. The heat and moisture from hot tubs also increase swelling.
- Smoking and Vaping – Stop all tobacco and nicotine products for at least two weeks before surgery and continue abstaining through the osseointegration period if possible. Nicotine constricts blood vessels, reducing oxygen delivery to healing tissues and dramatically increasing implant failure risk. Patients who smoke have significantly higher complication rates than non-smokers.
- Alcohol Consumption – Avoid alcohol while taking prescription pain medication – the combination can be dangerous. After stopping opioids, limit alcohol for at least two weeks as it dilates blood vessels and can trigger bleeding. Alcohol also impairs immune function, potentially slowing healing.
- Air Travel – Cabin pressure changes during flights can increase facial swelling and discomfort during the first two weeks. If you must fly, stay hydrated, use nasal decongestants if experiencing sinus pressure, and continue pain medication as needed. Ideally, avoid air travel for three weeks after surgery.
Return to work depends on your job type. Desk workers can typically return after three to four days once acute swelling decreases and pain is manageable. Physically demanding jobs – construction, nursing, warehouse work, or anything requiring heavy lifting – need seven to ten days minimum. Jobs requiring extensive talking may be challenging initially as you adjust to speaking with new teeth, but most patients adapt within a few days.
Social activities resume gradually. You’ll feel self-conscious about swelling and bruising for the first week. Some patients prefer staying home until external signs resolve. Others return to social situations once they feel comfortable, explaining they had dental surgery if asked about visible swelling. Your temporary teeth look natural, so once facial swelling resolves, most people won’t notice you’ve had work done unless you tell them.
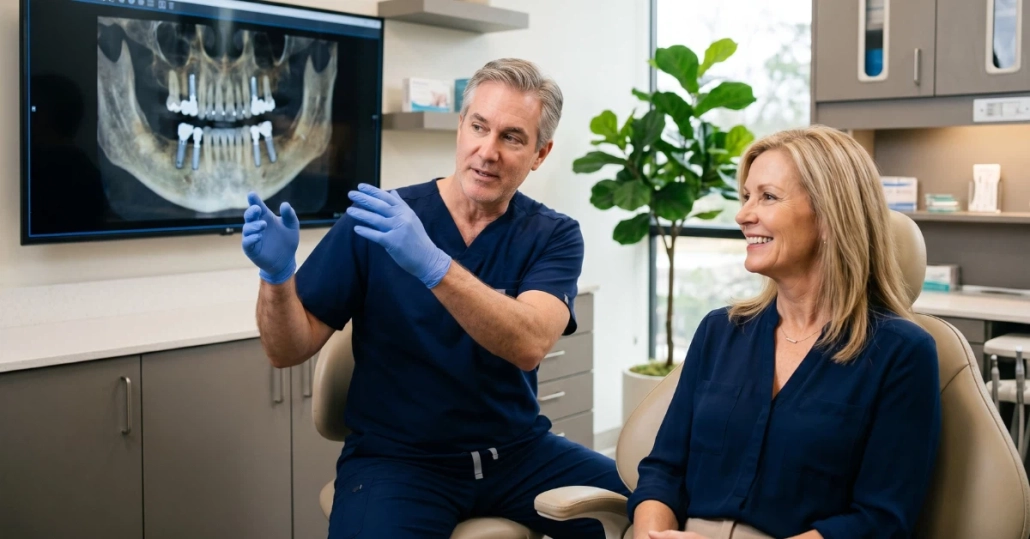
Your Recovery Support at Optima Dental
All-on-X aftercare extends beyond instructions and medication. Our Austin-area team provides support throughout your recovery with scheduled follow-up visits, accessibility for questions or concerns, and clear communication about what to expect at each healing phase. This ongoing care ensures complications are caught early and you feel confident managing recovery rather than anxious about whether healing is progressing normally.
Your first follow-up typically happens seven to ten days after surgery. We examine healing progress, remove any sutures if used, check your temporary teeth for proper function and comfort, address any concerns you’re experiencing, and adjust your care plan if needed. This visit confirms you’re healing appropriately and lets us intervene quickly if any issues have developed.
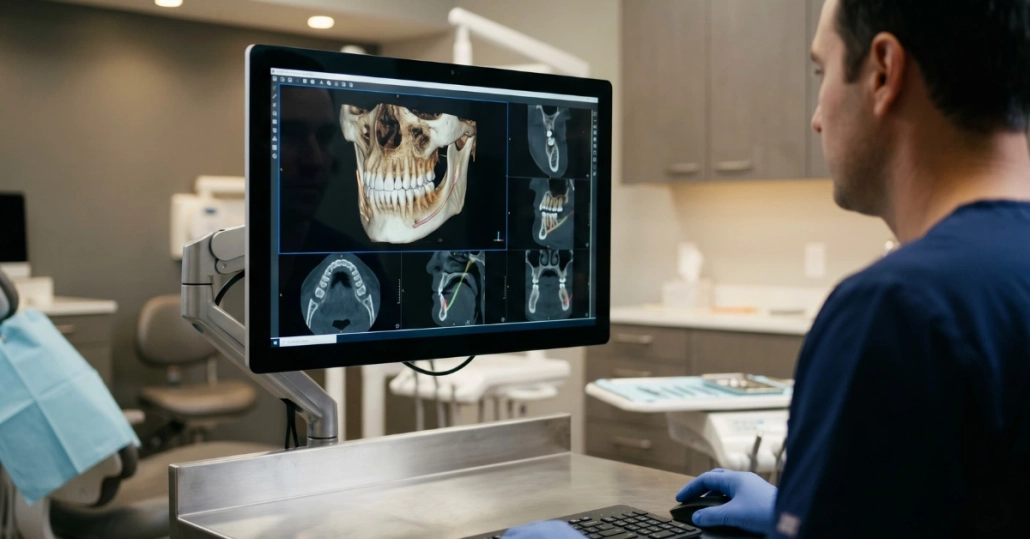
Additional follow-ups occur at one month, three months, and before final restoration placement. These appointments track bone integration, monitor implant stability, maintain your temporary teeth, and keep you informed about timeline to permanent teeth. Regular monitoring catches potential problems before they become serious and gives you consistent updates about your progress.
Between appointments, our Round Rock and Temple offices remain accessible for questions. Call during business hours with concerns about symptoms, medication issues, or aftercare questions. We have protocols for handling urgent situations after hours. You’re never left wondering whether something is normal or requires evaluation – we’d rather address your concerns promptly than have you worry unnecessarily or ignore warning signs.
Recovery from All-on-X surgery requires patience, diligence with aftercare instructions, and trust in the healing process. Most Central Texas patients progress through recovery without complications when they follow dietary restrictions, maintain proper hygiene, avoid activity limitations, and attend follow-up appointments. The temporary restrictions and discomforts last only weeks, but the restored function and confidence from your new teeth last for decades.
If you’re preparing for All-on-X surgery at Optima Dental Surgery Center, review these aftercare guidelines carefully. Ask questions during your pre-operative appointment about anything unclear. Stock your kitchen with appropriate soft foods before surgery. Arrange help for the first few days. Taking these preparation steps makes recovery smoother and less stressful. Your surgical team provides detailed written instructions specific to your procedure, but this guide gives you a complete picture of what recovery involves and how we’ll support you through every phase of healing.